Tired of Messy Channels? Clean Up Your DAPI and GFP Cross-Talk Today
You are at the microscope, fine-tuning your multicolor immunofluorescence experiment. You switch over to the GFP (Green) channel to check your target protein, but instead of distinct cytoplasmic or membrane localization, you see glowing green nuclei that look suspiciously identical to your DAPI (Blue) channel.This frustrating phenomenon is known as spectral bleed-through (or crosstalk). While DAPI and GFP are generally considered a classic, safe multi-labeling pair, bleed-through between them is surprisingly common.
Here are the primary reasons why DAPI light is sneaking into your green images, and exactly how to fix it.
[caption id="" align="aligncenter" width="800"]
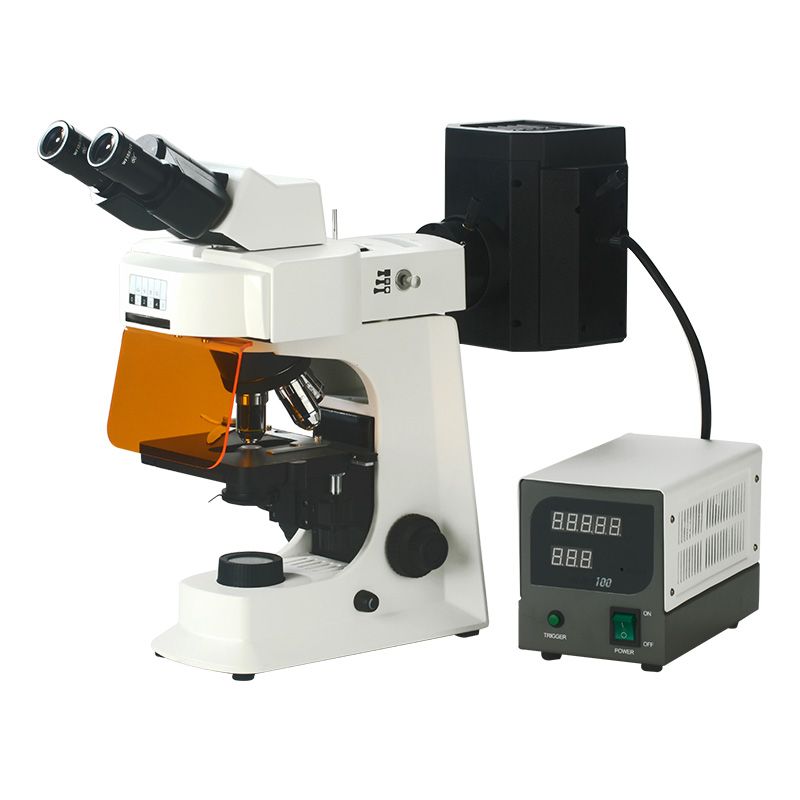 SMART-FL Fluorescence Microscope[/caption]
1. The DAPI Concentration is Too High (Overstaining)
The most frequent cause of bleed-through isn’t hardware failure—it is a chemical imbalance.
DAPI is an incredibly efficient fluorophore. If you use it at a high concentration, it binds heavily to the DNA, creating an intensely bright signal. Because the tail end of DAPI’s emission spectrum actually extends past 500nm into the green region, an overly bright DAPI signal will easily overwhelm standard green barrier filters.
The Fix: Reduce your DAPI staining concentration. If you are using a standard stock solution, dilute it down to 0.1 to 0.2ug/mL. You want the lowest concentration required to clearly resolve the nuclei—no more.
2. DAPI "Photoconversion" into a Green Emitting Form
This is a lesser-known quirk of DAPI chemistry that catches many researchers off guard.
Under continuous, high-intensity UV illumination (around 360 nm), DAPI can undergo a chemical photoconversion process. The UV light alters the chemical structure of some of the bound DAPI molecules, creating a photoproduct that acts like a completely different dye.
This converted DAPI product has a shifted profile that can now be excited by blue light (488 nm) and emits light directly in the green spectrum (~510nm). If you spend a long time focusing and viewing your DAPI channel before capturing your GFP channel, you are essentially creating artificial green signals inside the nuclei.
The Fix: Change your acquisition order! Always image your longest wavelengths first and move backward. Capture your GFP (or red channels) before you expose the sample to UV light for DAPI.
3. Suboptimal Filter Cubes
Your fluorescence microscope’s filter cube houses three optical components: the excitation filter, the dichroic mirror, and the emission (barrier) filter.
If your microscope is using older longpass emission filters (which let all light past a certain wavelength through) instead of narrow bandpass filters (which isolate a precise window of light), the long tail end of DAPI's blue emission will freely bleed into the green channel. Furthermore, thin-film optical coatings on filter cubes can degrade or burn out over years of heavy use, letting unintended wavelengths sneak across channels.
| Filter Component | The Ideal Setup for Multi-Color Imaging |
| Excitation Filter | Narrow bandpass to prevent UV light from bleeding into blue-green regions. |
| Emission Filter | Bandpass filters (e.g., 525/50 nm for GFP) rather than longpass filters, ensuring only true green light reaches the detector. |
The Fix: Check your microscope configuration. Make sure you are using a dedicated, high-quality bandpass filter set for both channels.
4. Weak GFP Signal vs. Overblown Gain
If your target protein is expressed at very low levels, or your antibody concentrations are suboptimal, your true GFP signal will be incredibly faint.
To compensate for this on screen, it is tempting to crank up the camera's digital gain or increase the exposure time to several seconds. However, doing this amplifies the background noise exponentially. Because DAPI's emission tail has a tiny bit of native overlap into the green window, raising the gain to extreme levels turns that tiny, unnoticeable trace of blue emission into a blinding "green" nuclear artifact.
The Fix: Avoid using digital gain as a crutch for poor staining. Optimize your antibody dilutions, choose a brighter green secondary dye (like Alexa Fluor 488), and adjust your microscope’s lookup tables (LUTs) linearly rather than oversaturating the detector.
Quick Troubleshooting Checklist
Before your next imaging session, try this rapid pipeline to eliminate the bleed-through entirely:
Stain lighter: Drop DAPI concentration down to 0.1ug/mL
Re-order your clicks: Capture GFP first, DAPI second.
Use Single-Stained Controls: Prepare a slide with only DAPI and only GFP. View the DAPI-only slide under the GFP channel; if it glows brightly, your issue is optical crosstalk or photoconversion, and you must tighten your filter bandwidths or drop the light intensity